In this comprehensive guide, we will walk you through setting up a test environment for Windows Server 2022 and Active Directory using VirtualBox, allowing you to explore its features and enhance your skills in a risk-free environment. To further elevate your learning experience, we will also demonstrate how to create a realistic test data set with 500 users, 50 groups, and 150 computers using our free AD Test Data Generator tool developed by Albus Bit. As a bonus, we will teach you how to generate fast and easy Active Directory reports using AD FastReporter Free, another valuable tool from Albus Bit. Get ready to dive into this hands-on learning experience and unlock the full potential of Active Directory or just click on the topic that interests you. Get ready to dive into this hands-on learning experience and unlock the full potential of Active Directory, or simply click on the topic that interests you.
Table of Contents
- Step 1: Download and Install VirtualBox
- Step 2: Download Windows Server 2022 Trial
- Step 3: Create a New Virtual Machine in VirtualBox
- Step 4: Install Windows Server 2022
- Step 5: Install the Active Directory Domain Services Role
- Step 6: Promote the Server to a Domain Controller
- Step 7: Verify Active Directory Installation
- Step 8: Generate test users, groups, computers
- [Bonus] Get reports of all users, groups, computers from Active Directory
- Conclusions
Step 1: Download and Install VirtualBox
- Go to the VirtualBox download page: https://www.virtualbox.org/wiki/Downloads
- Select the appropriate version for your host operating system (Windows, macOS, or Linux).
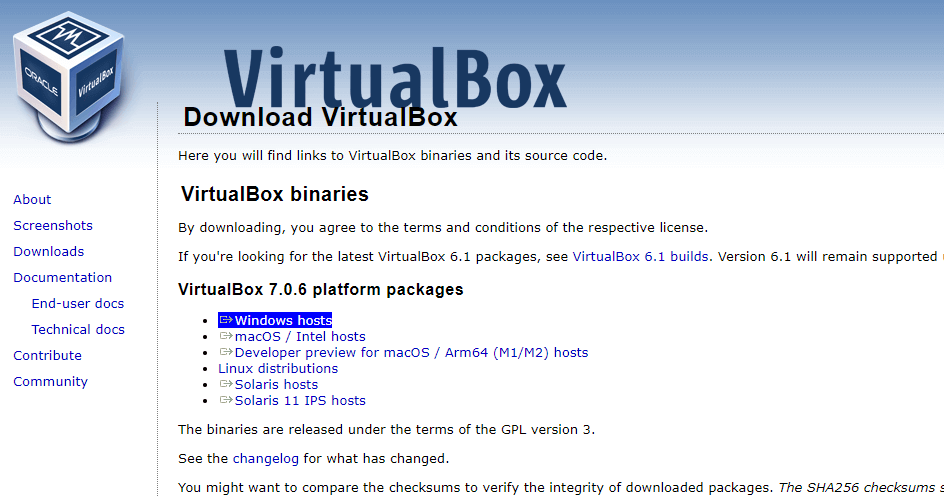
- Download the installer and run it.
- Follow the on-screen instructions to complete the installation process. You can safely leave all options at default.
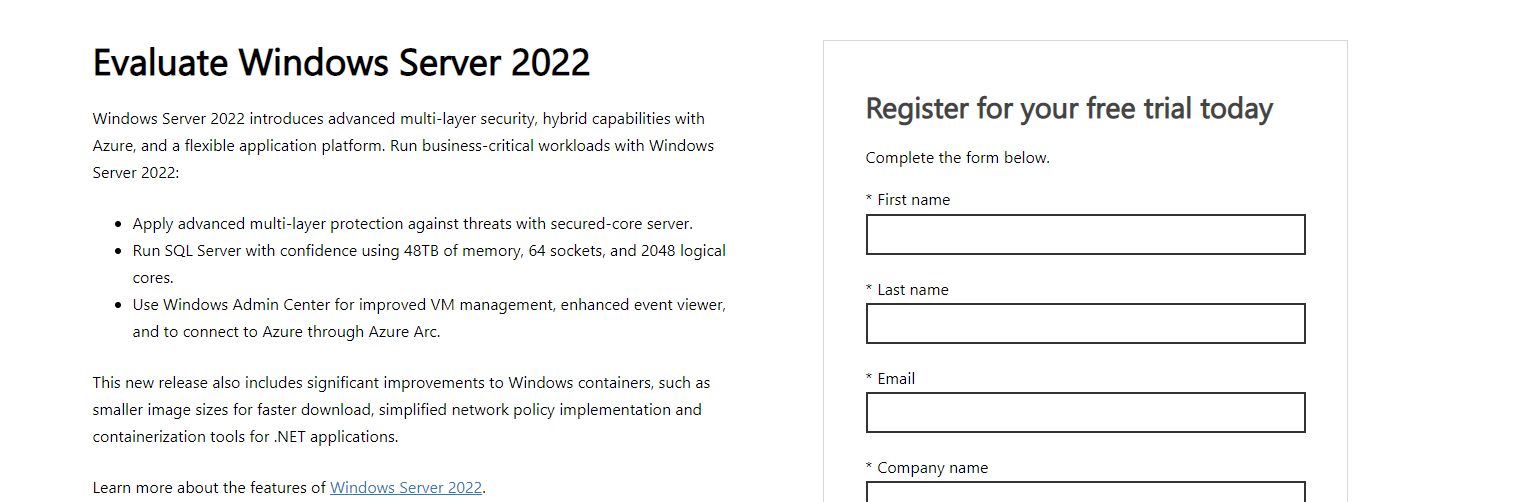
Step 2: Download Windows Server 2022 Trial
- Go to the Windows Server 2022 evaluation download page: https://www.microsoft.com/en-us/evalcenter/evaluate-windows-server-2022
- Under "Get started for free" click "Download the ISO".

- Complete trial registration form.
- Under "ISO downloads", click on "64-bit edition" to start the download.
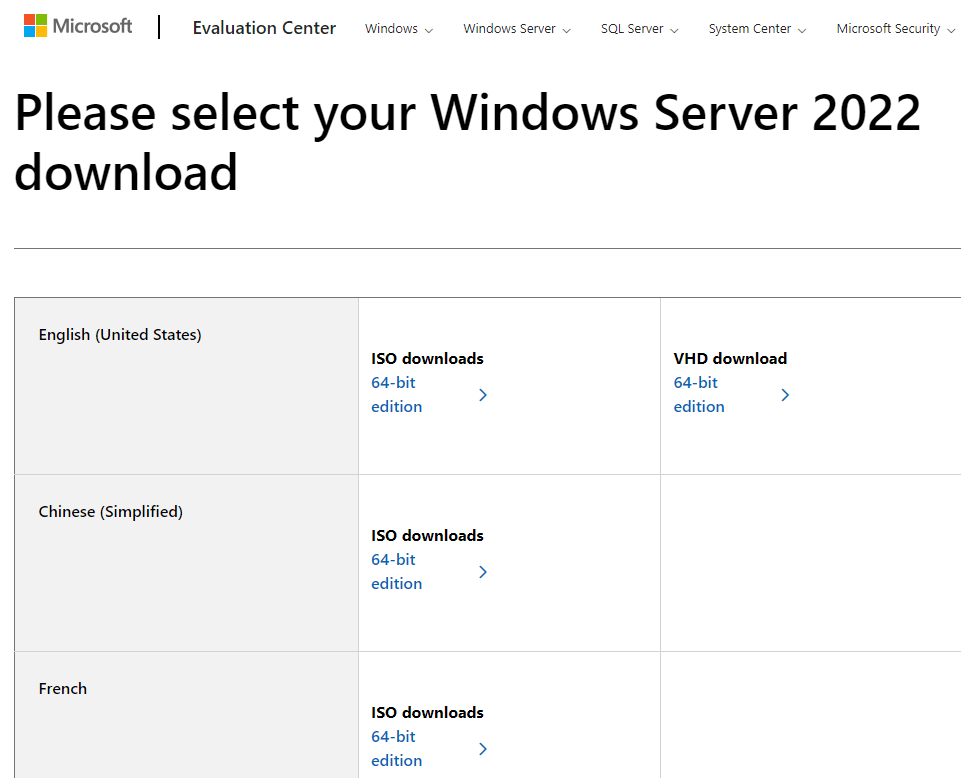
- Save the ISO file to your computer.
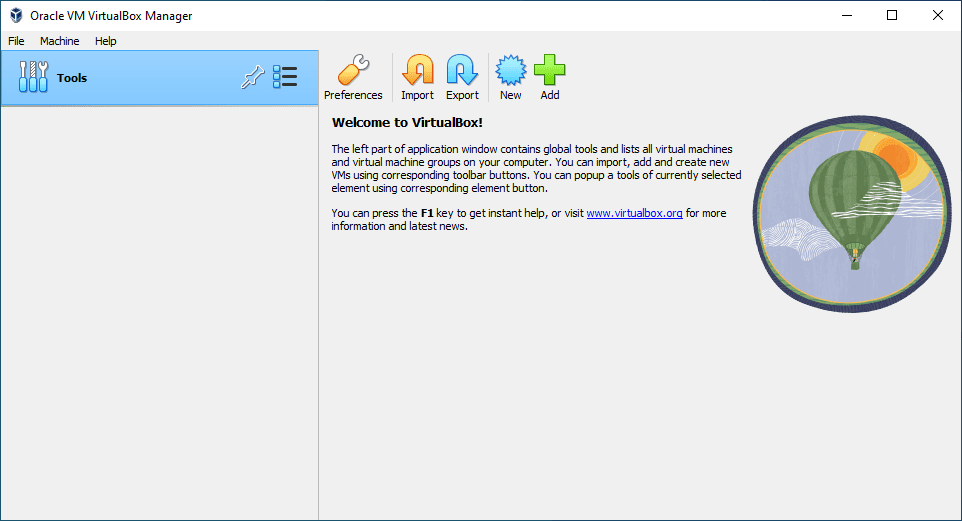
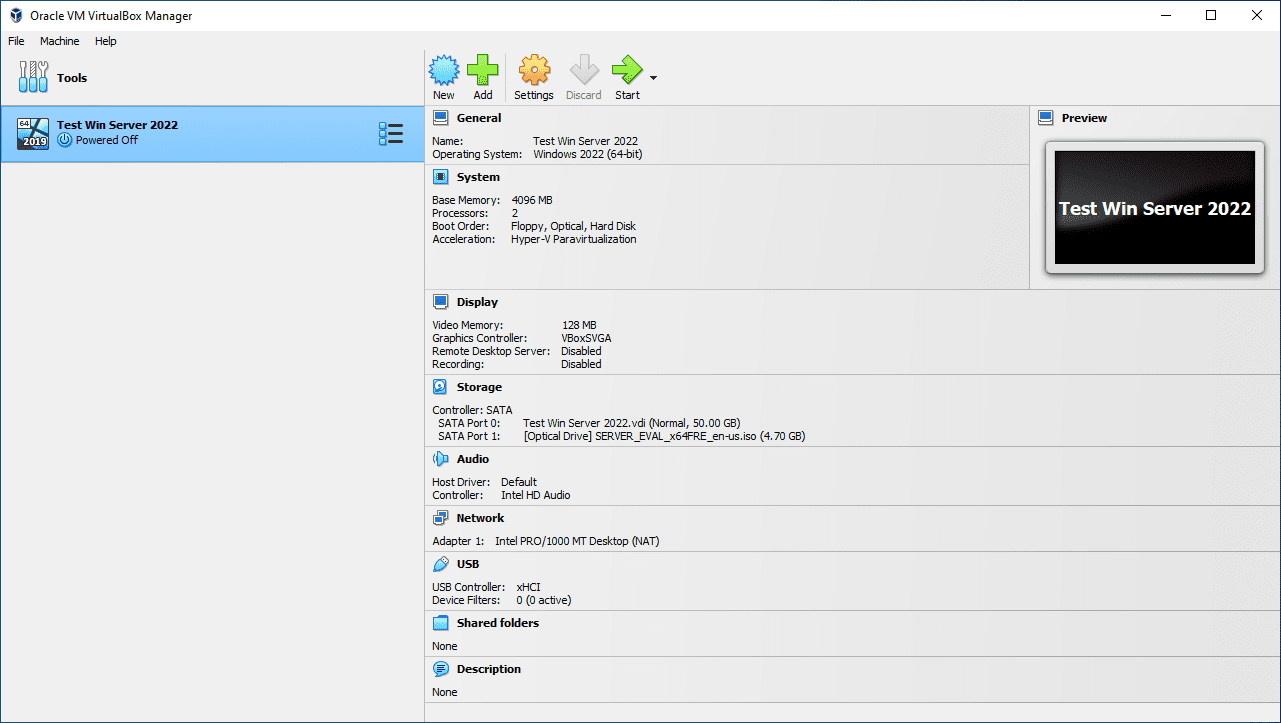
Step 3: Create a New Virtual Machine in VirtualBox
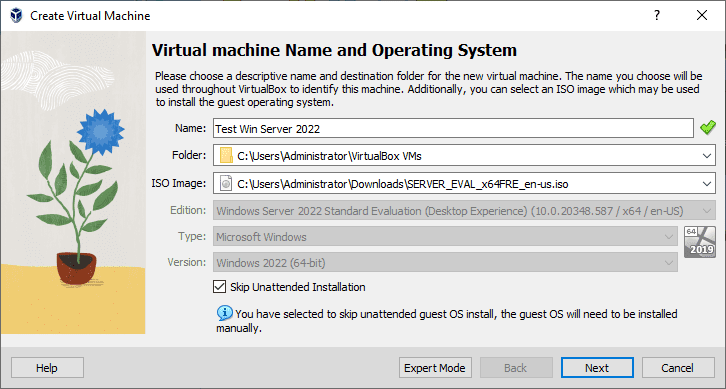
- Open VirtualBox and click on "New" to create a new virtual machine.
- Name the virtual machine, select "Microsoft Windows" as the type, and choose "Windows Server 2022 (64-bit)" as the version. Check "Skip unattended installation".
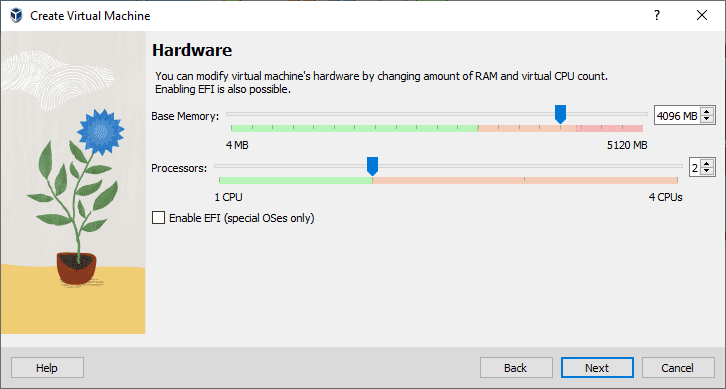
- Allocate memory (RAM) to the virtual machine. We recommend at least 4 GB for Windows Server 2022 and two CPUs.
- Select "Create a virtual hard disk now" and set the disk size to 50 GB.
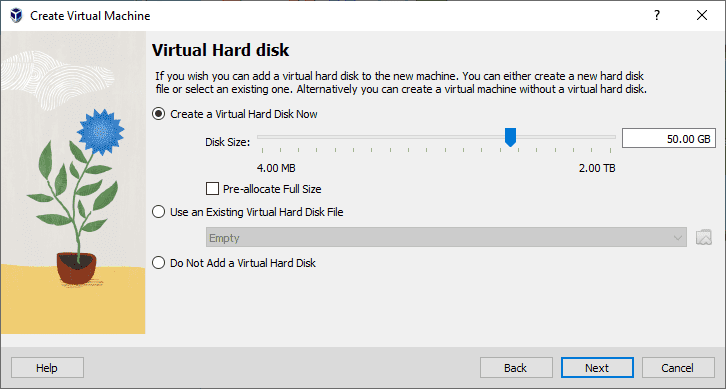
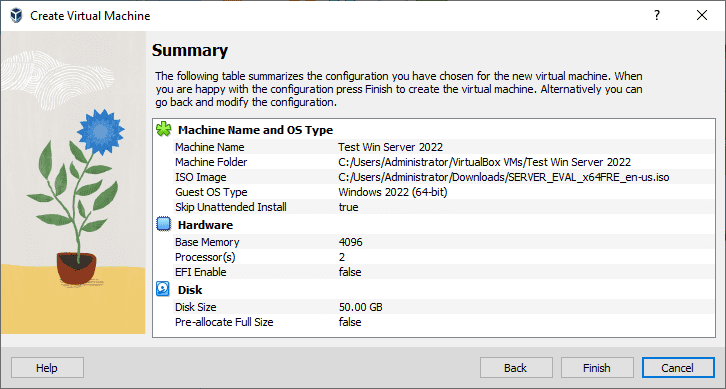
- Click "Finish" to finalize the creation of your new virtual machine.
Step 4: Install Windows Server 2022
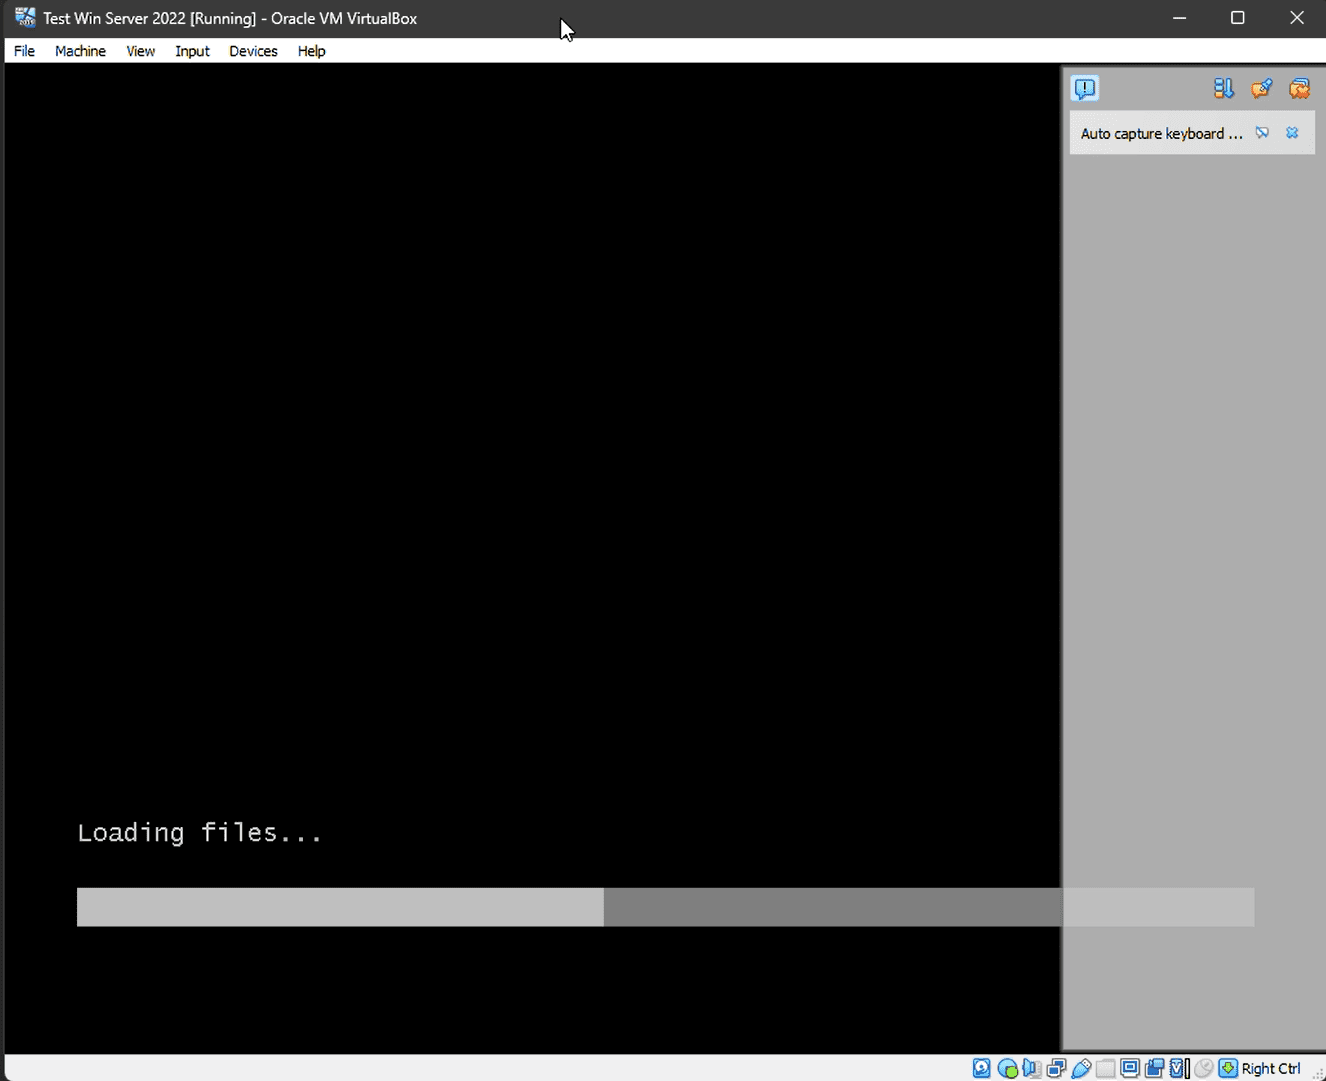
- With your newly created virtual machine selected, click on "Start."
- Wait for the installation files to load.
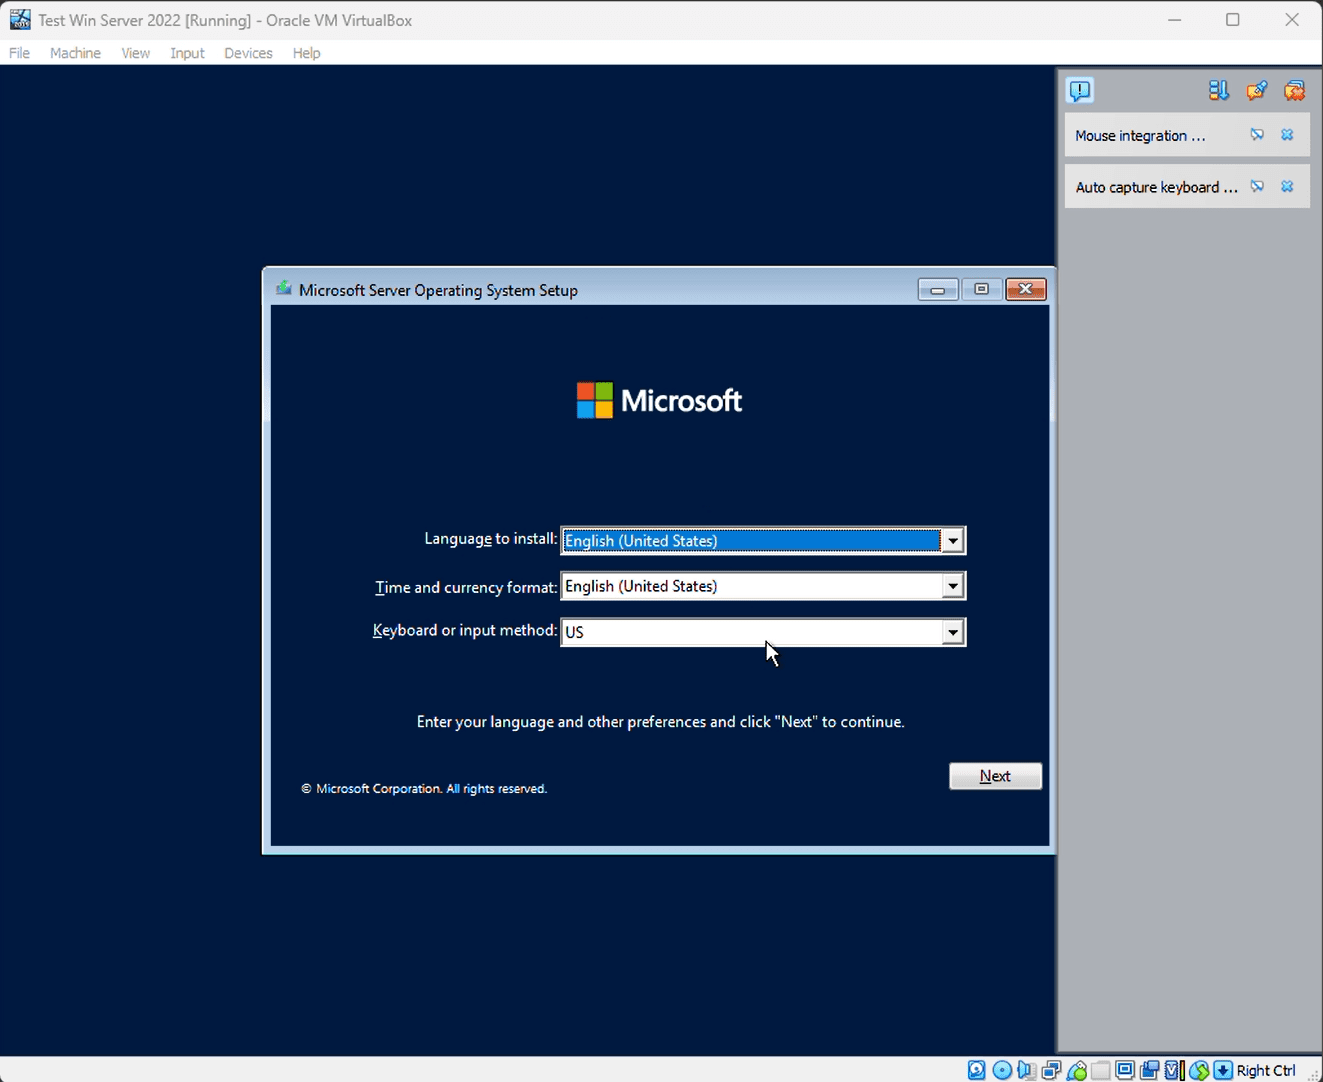
- Select the language and other regional settings
- Choose the "Windows Server 2022 Standard Evaluation (Desktop Experience)" edition.

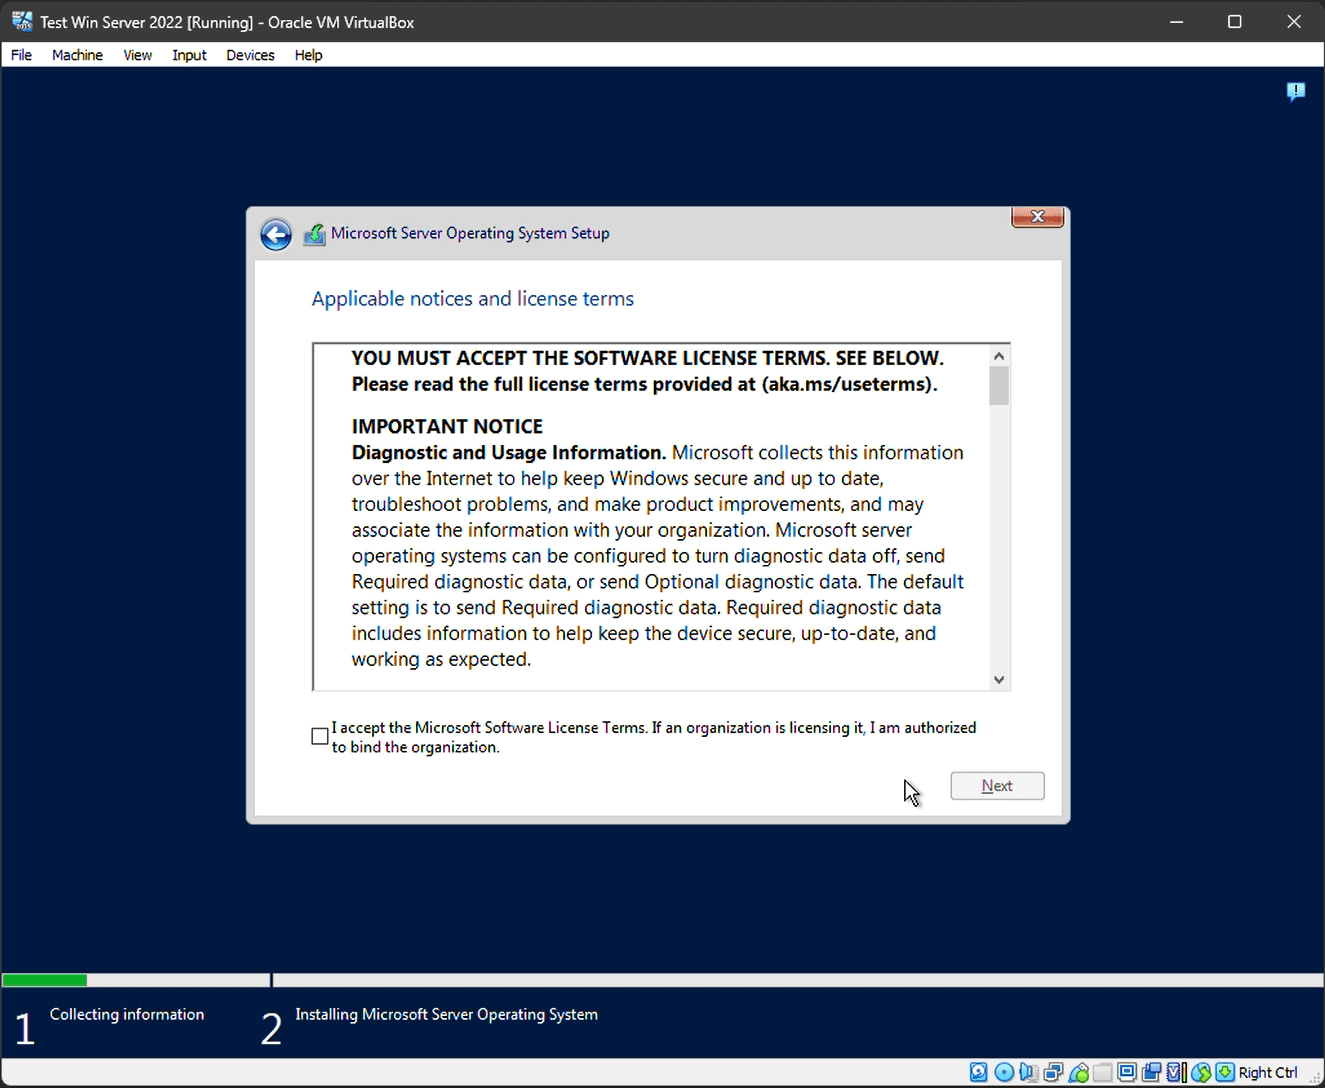
- Accept the terms.
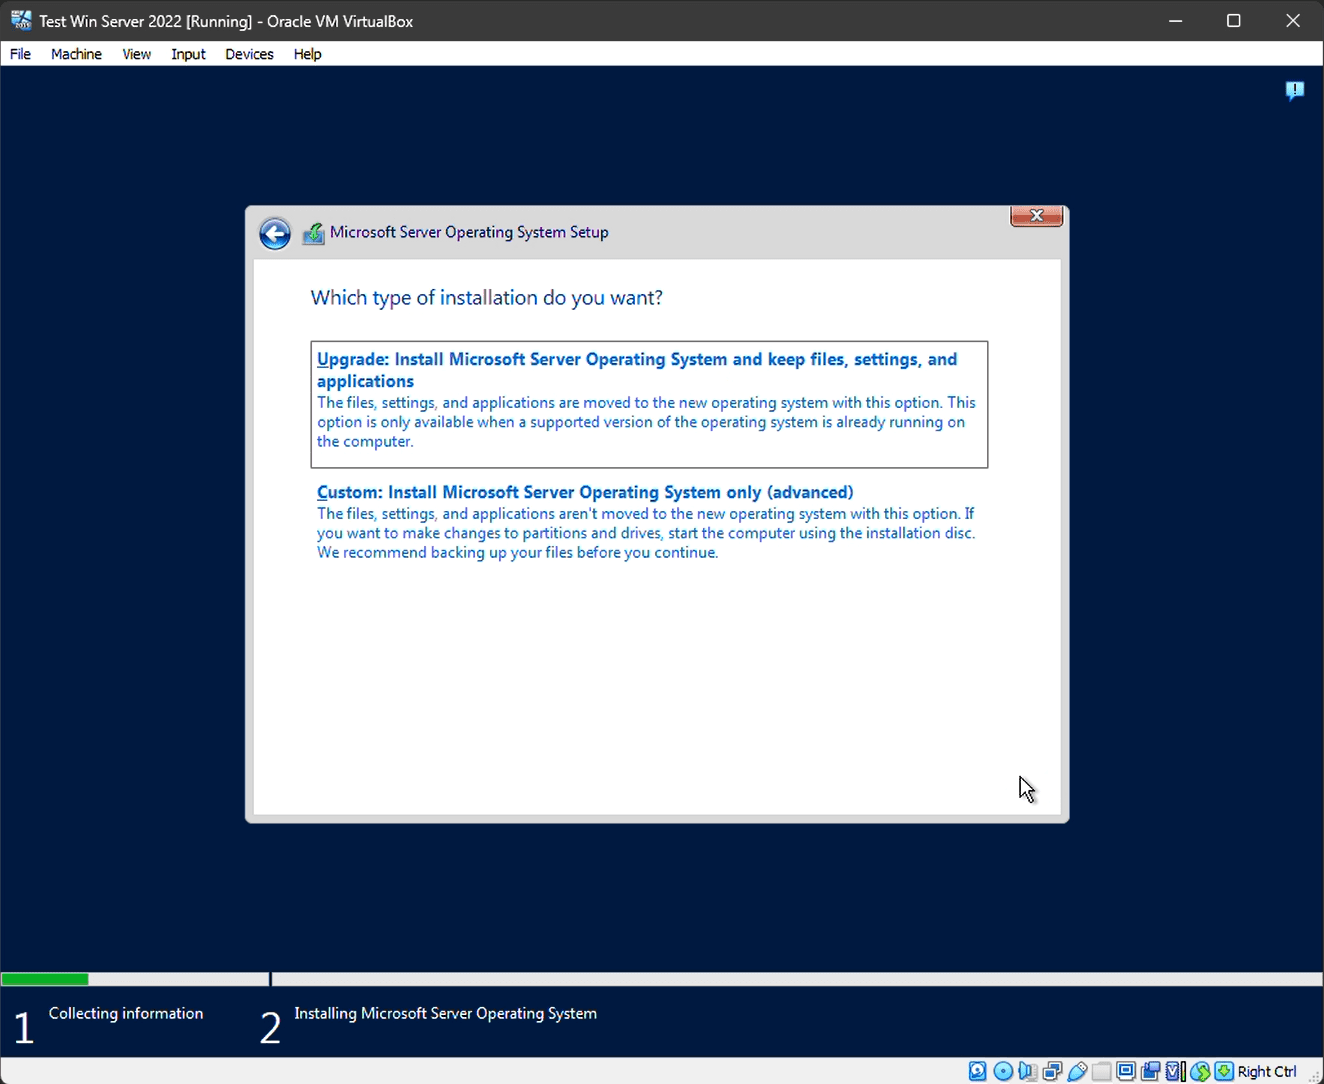
- Select "Custom: Install Microsoft Server Operating System only (advanced)".
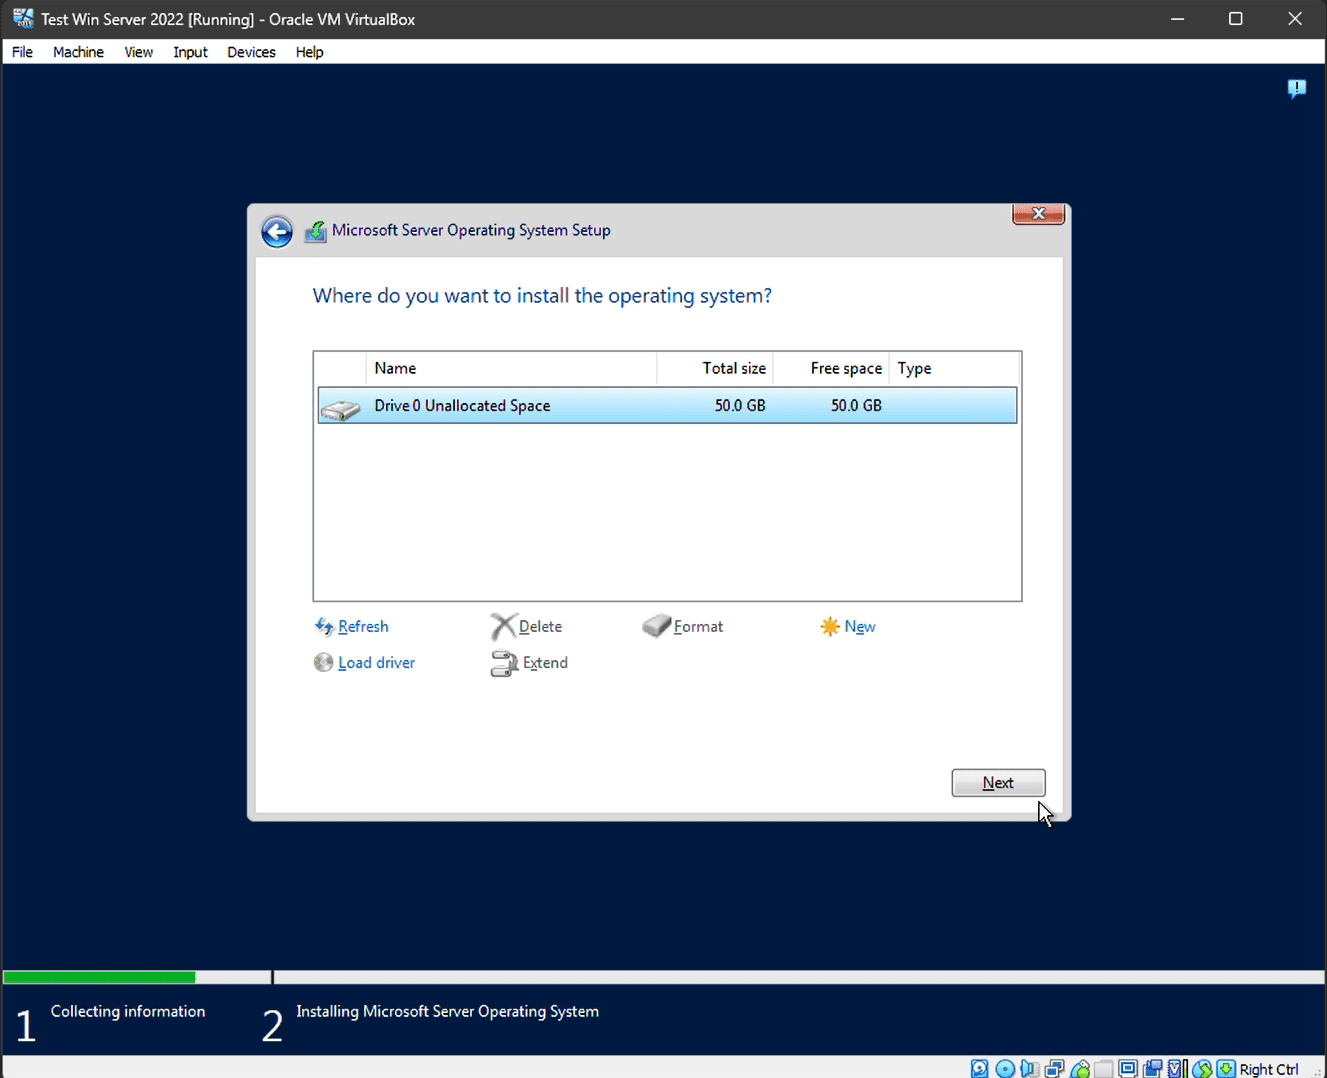
- There will be one of your virtual disk, select it.
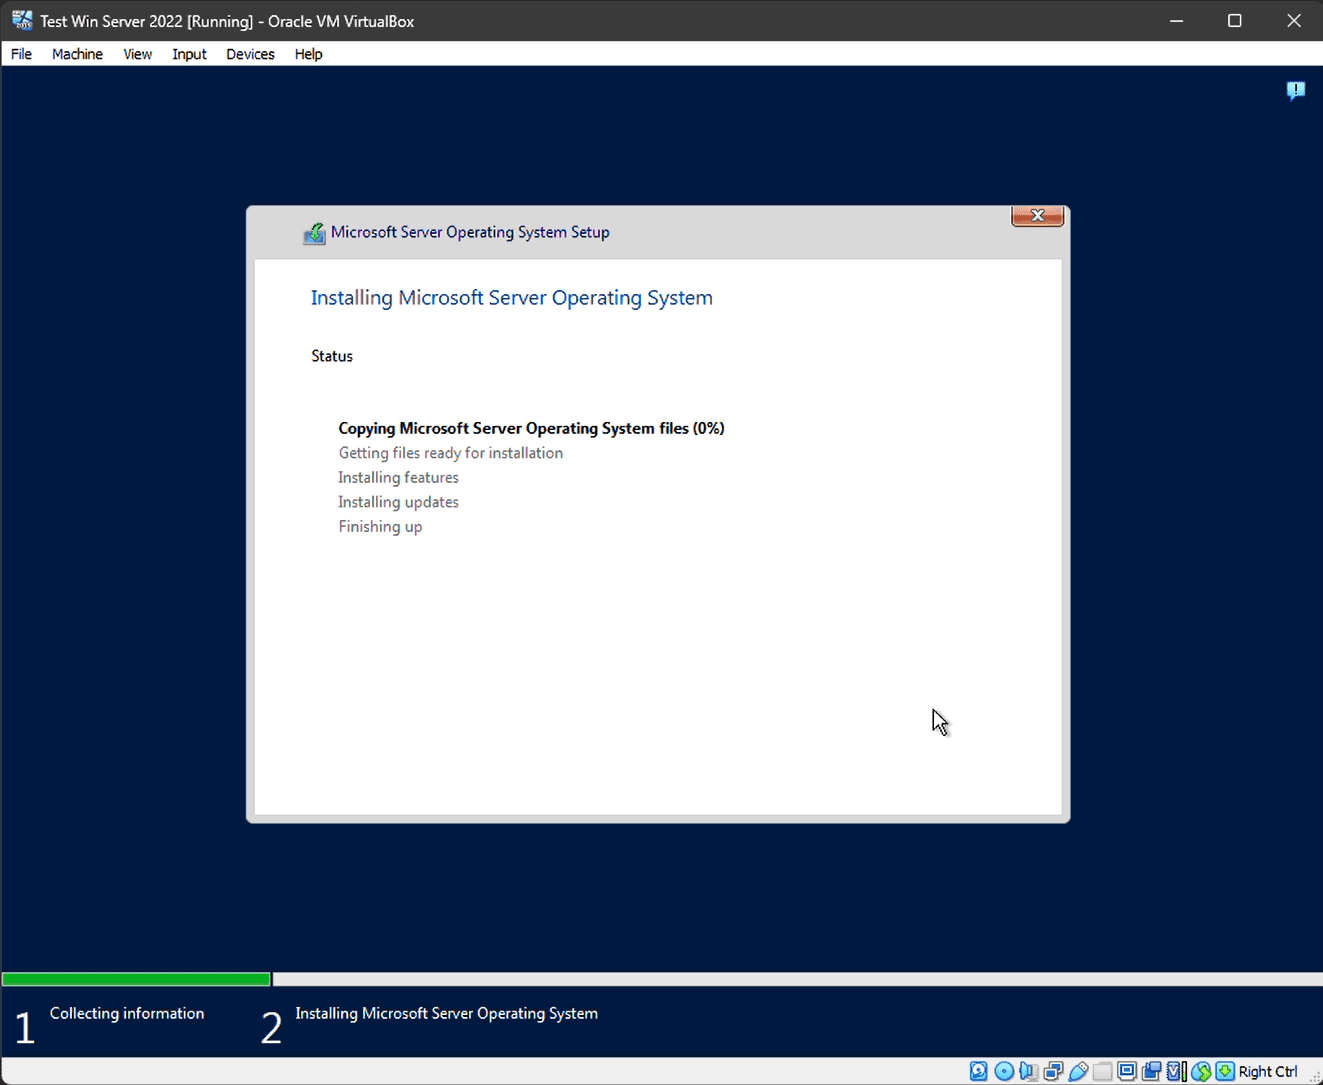
- Wait several minutes while the installation is in progress.
- An automatic restart will occur when it is complete.
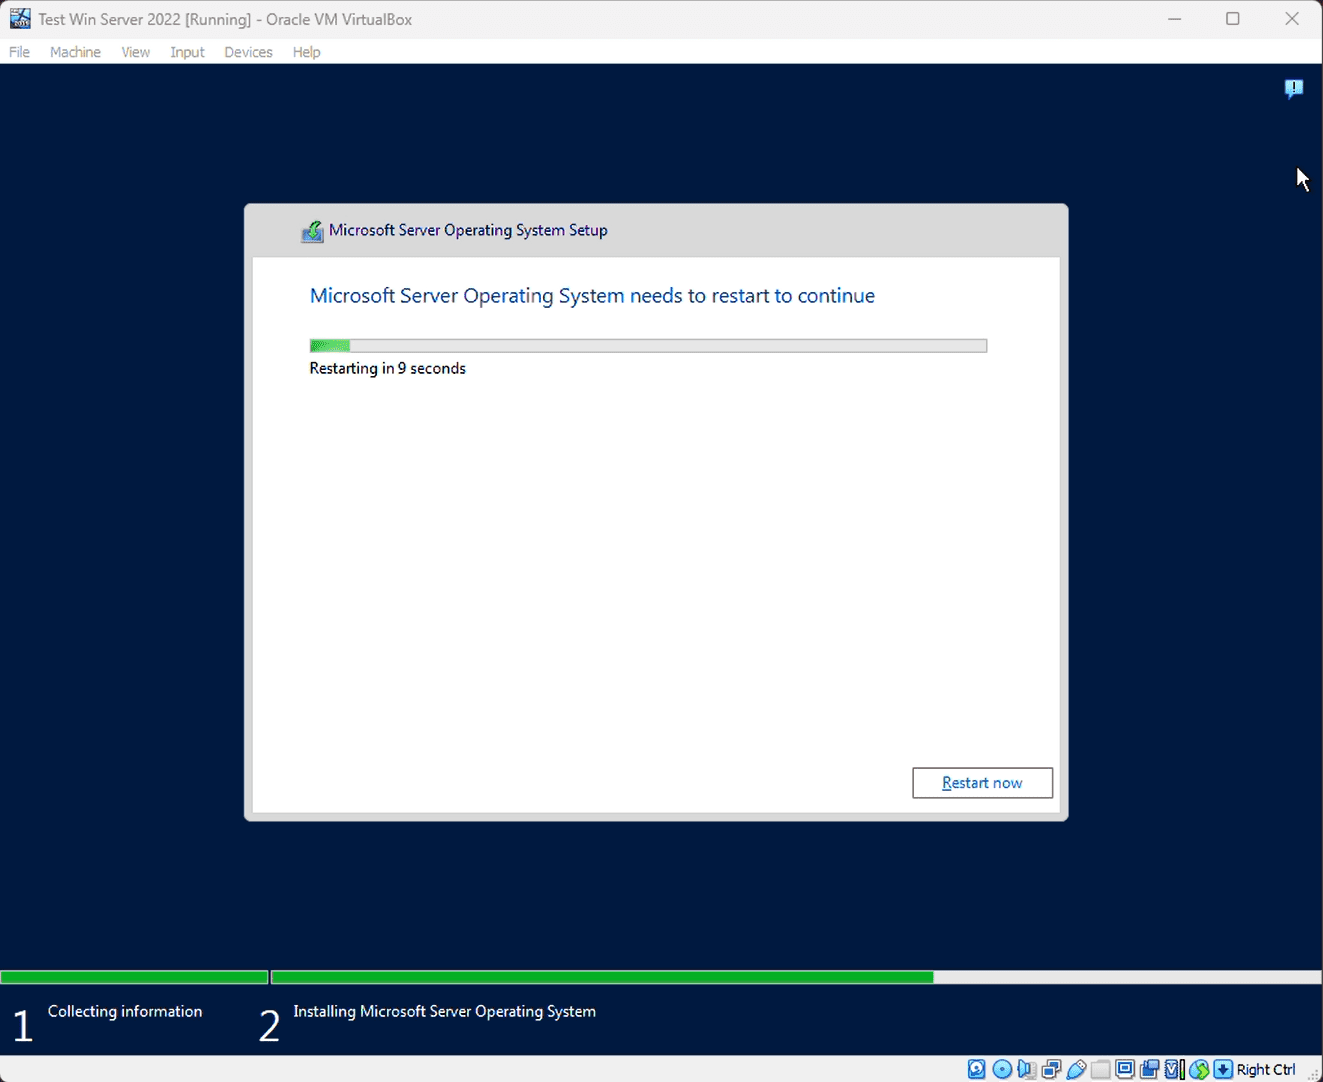
- After that, don't press anything at boot because we don't want to start the installation from scratch.

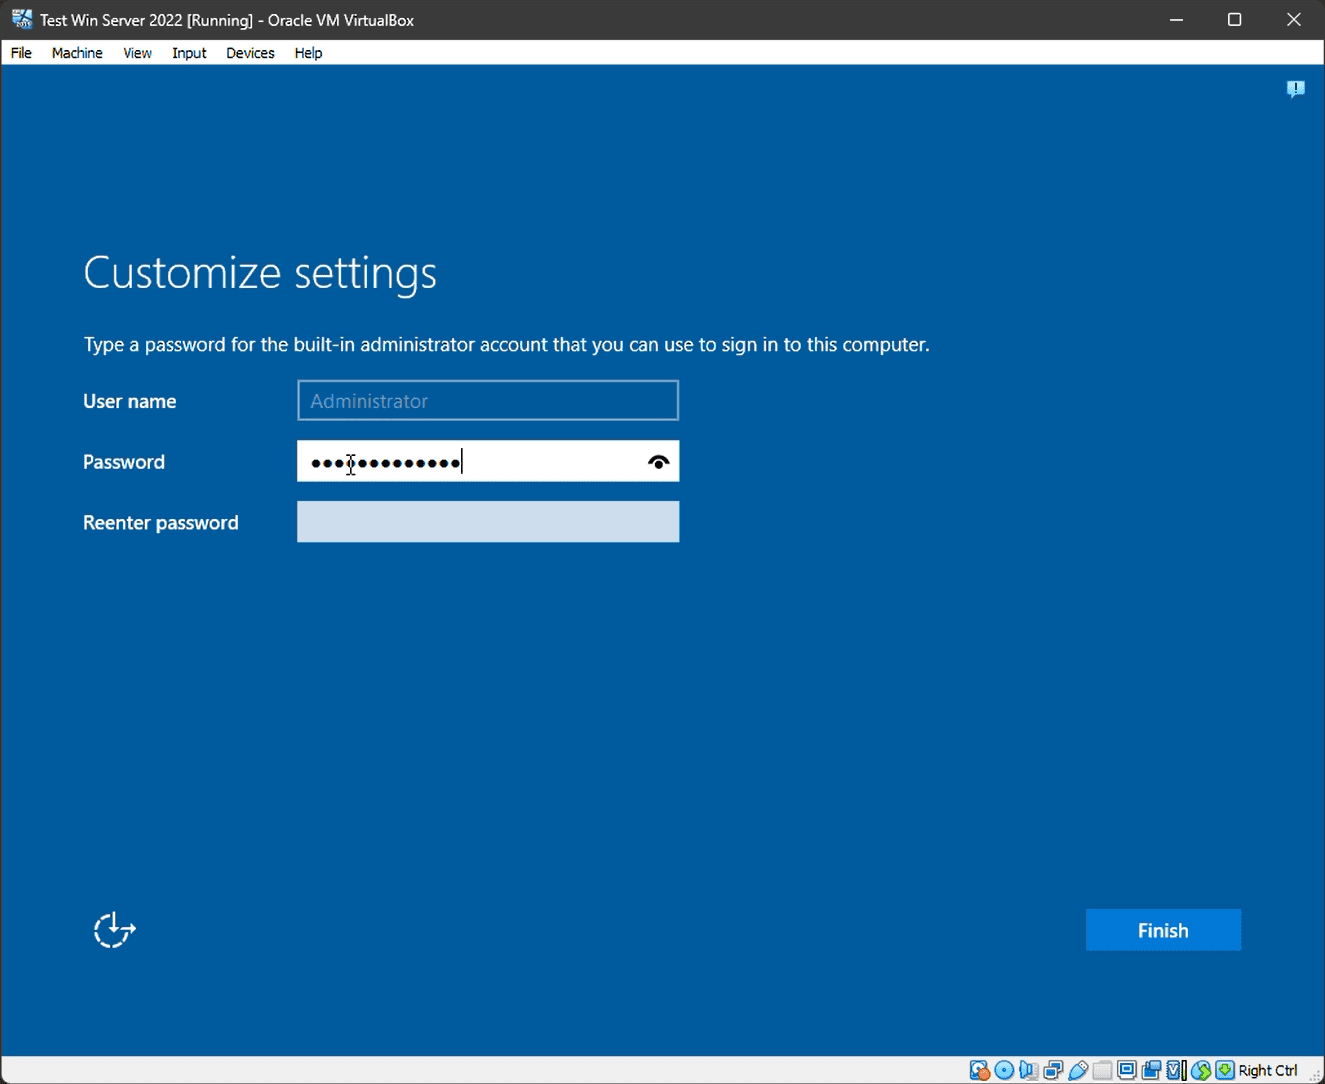
- Create an Administrator password and remember it.
- You now have a fully functional Windows Server 2022 trial running in a VirtualBox virtual machine, ready for you to set up Active Directory and explore its features. Remember that this trial version is time-limited, so make sure to use it for testing and learning purposes only.
Once you have Windows Server 2022 up and running in your virtual machine, you can proceed to enable Active Directory Domain Services (AD DS). Here's a step-by-step guide:
Step 5: Install the Active Directory Domain Services Role
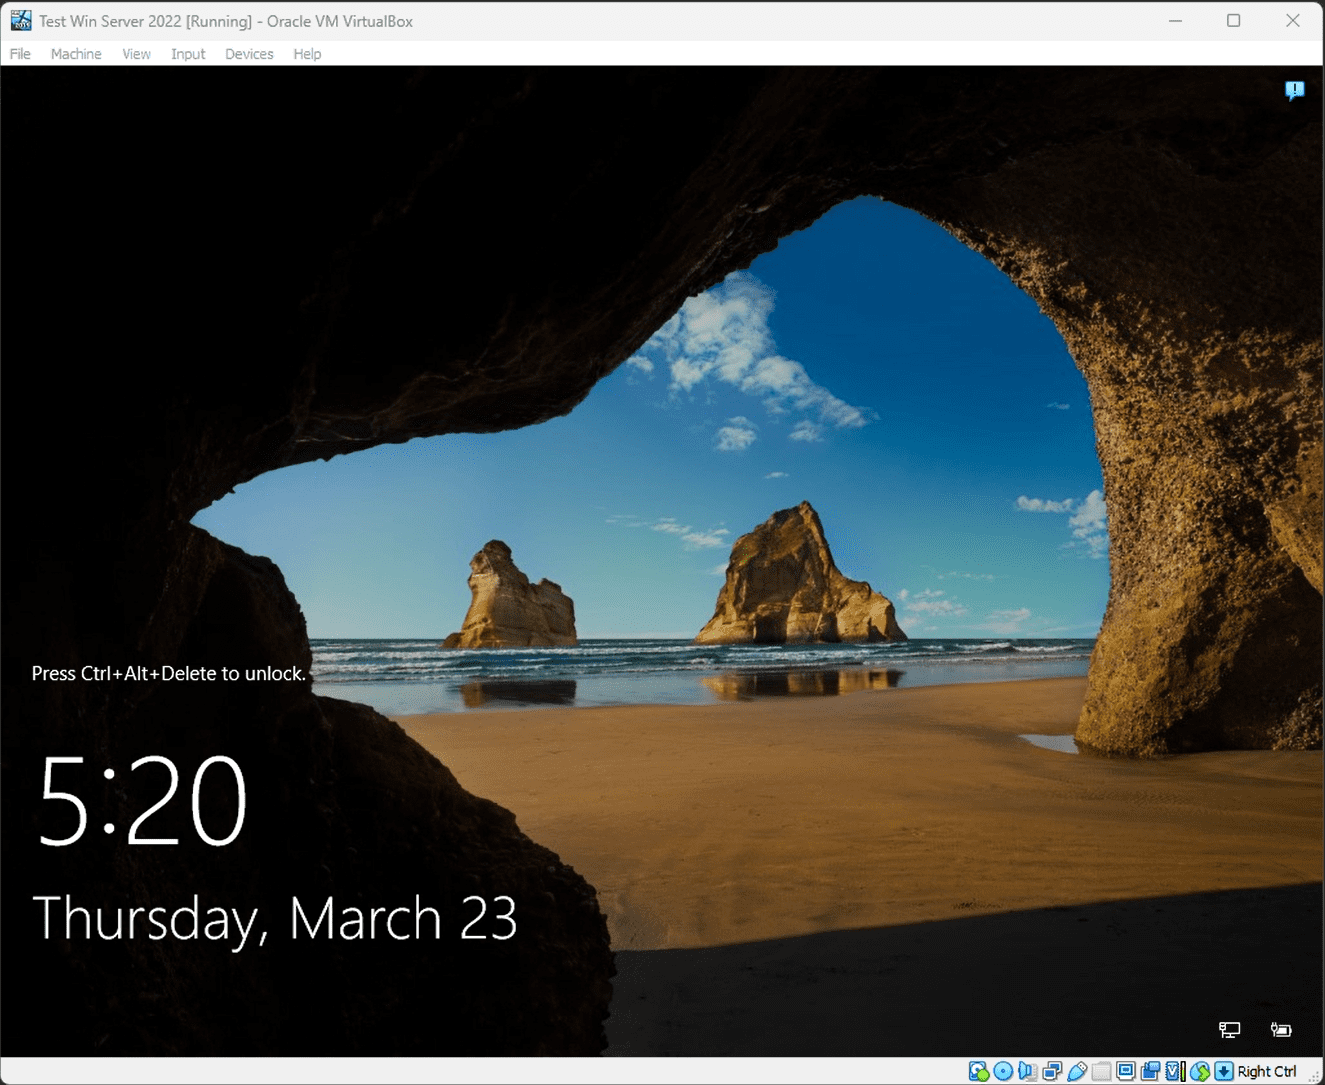
- Log in to your Windows Server 2022 virtual machine using the Administrator account.
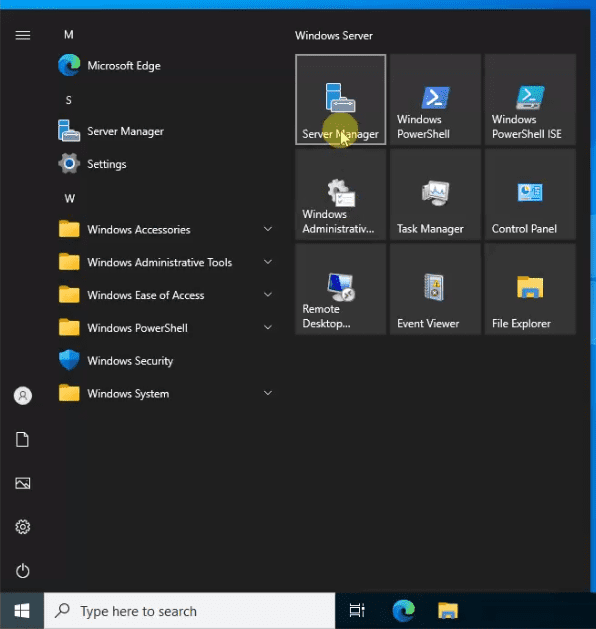
- Open Server Manager by clicking on the icon in the taskbar or by searching for it in the Start menu.
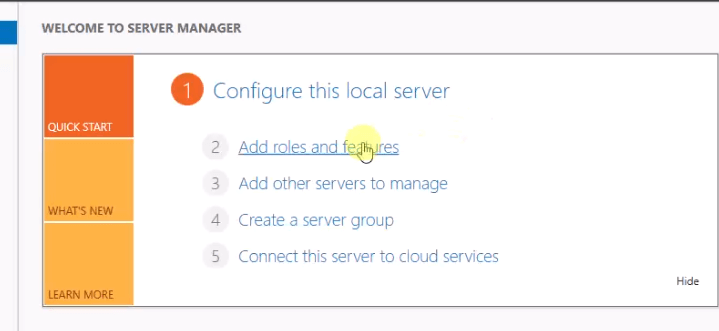
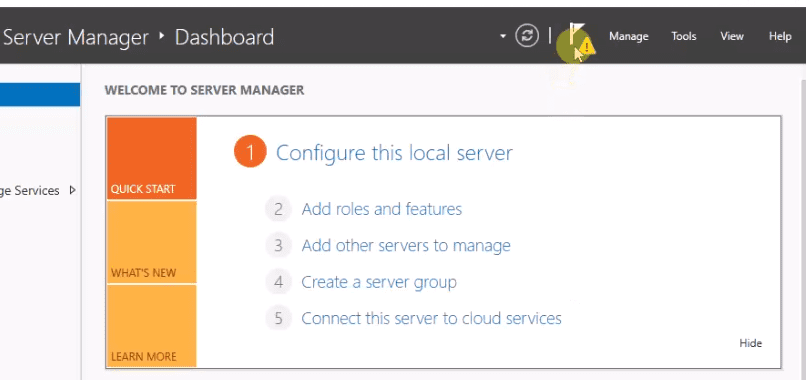
- In the Server Manager Dashboard, click on "Add roles and features."
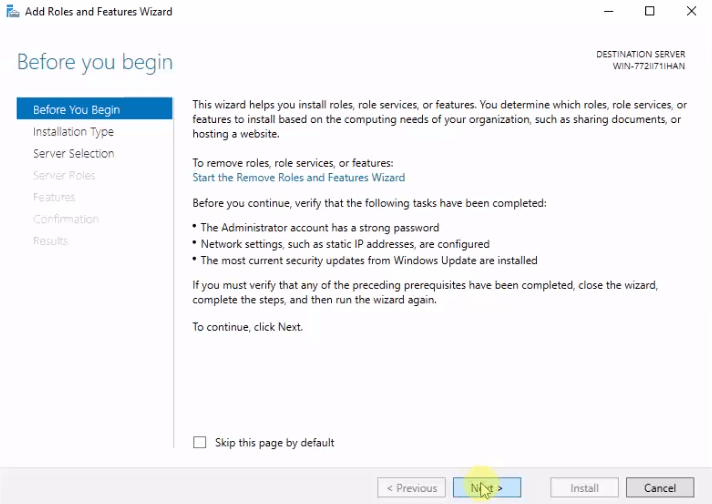
- In the "Add Roles and Features Wizard," click "Next" to proceed.
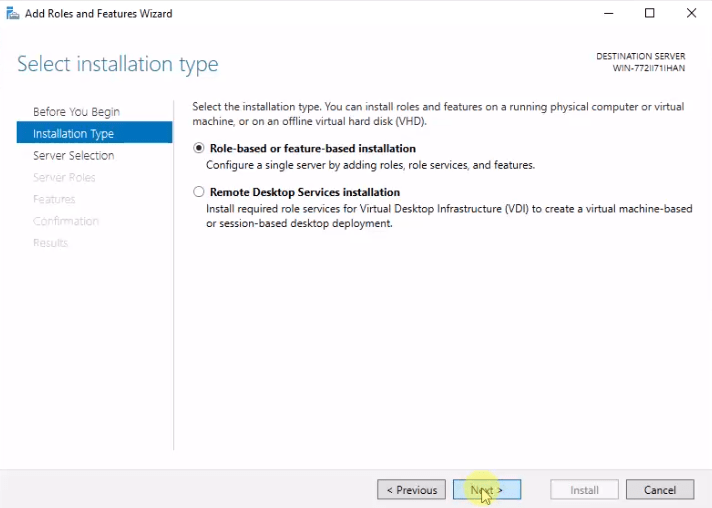
- Choose the "Role-based or feature-based installation" option and click "Next."
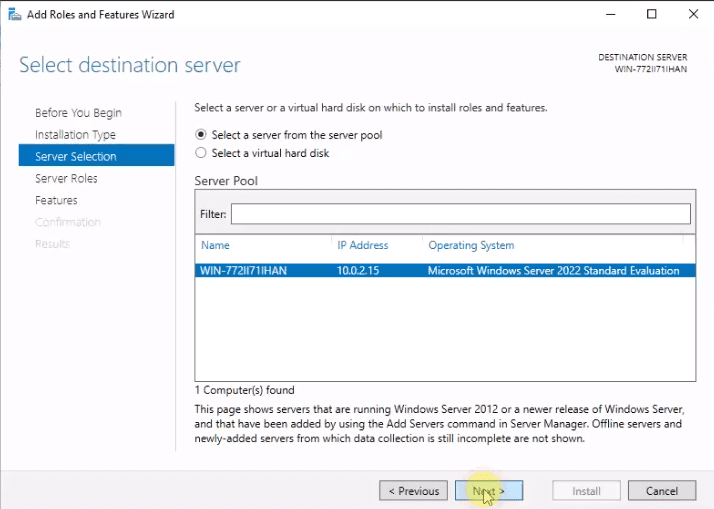
- Ensure your server is selected as the target server and click "Next."
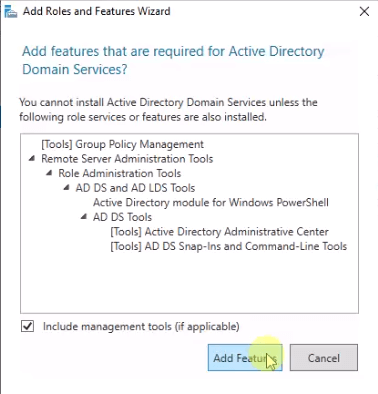
- In the "Select server roles" screen, check the box next to "Active Directory Domain Services."
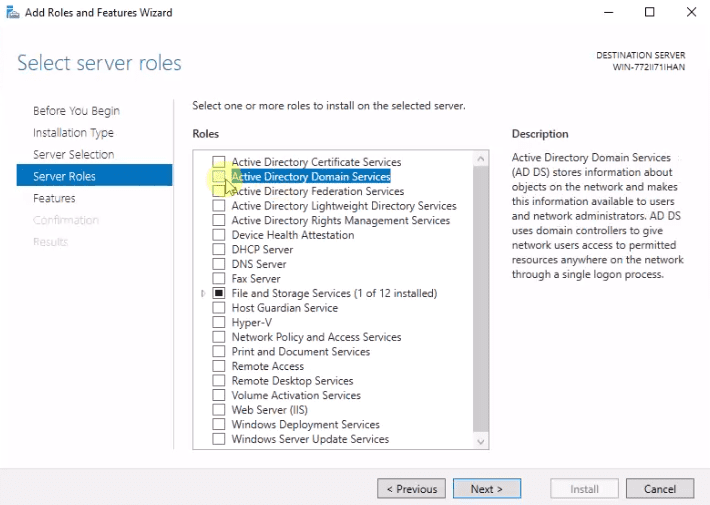
- A prompt will appear with additional features required for AD DS. Click "Add Features" and then "Next."
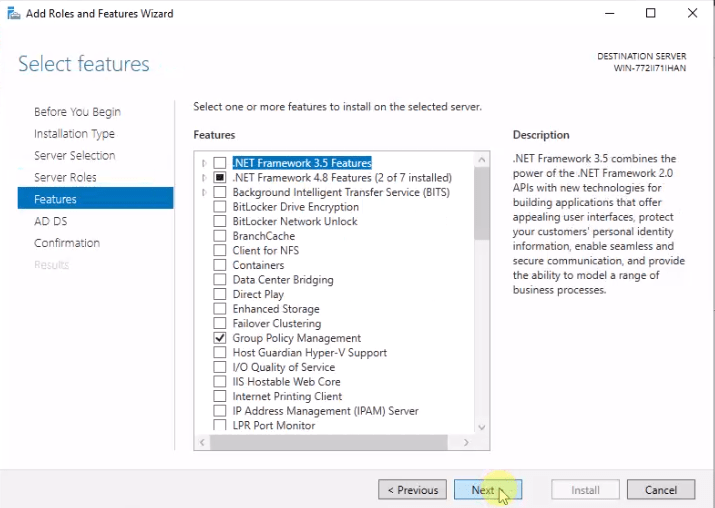
- Click "Next" again on the "Select features" screen.
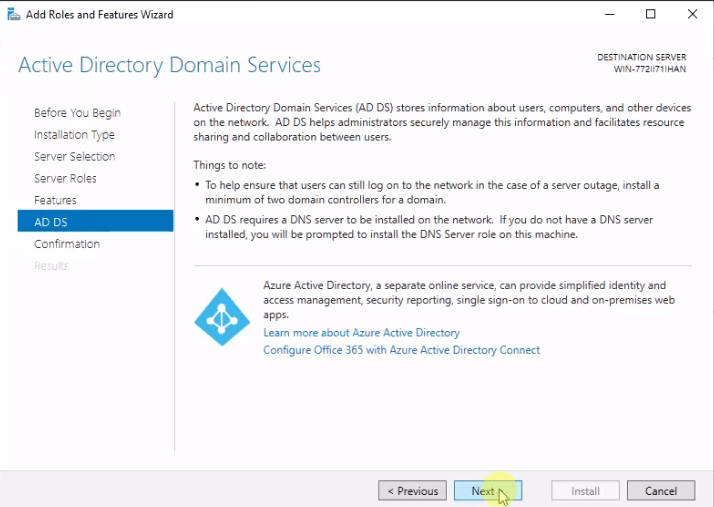
- On the "Active Directory Domain Services" information screen, click "Next."
- Review your selections and click "Install" to begin the installation process.
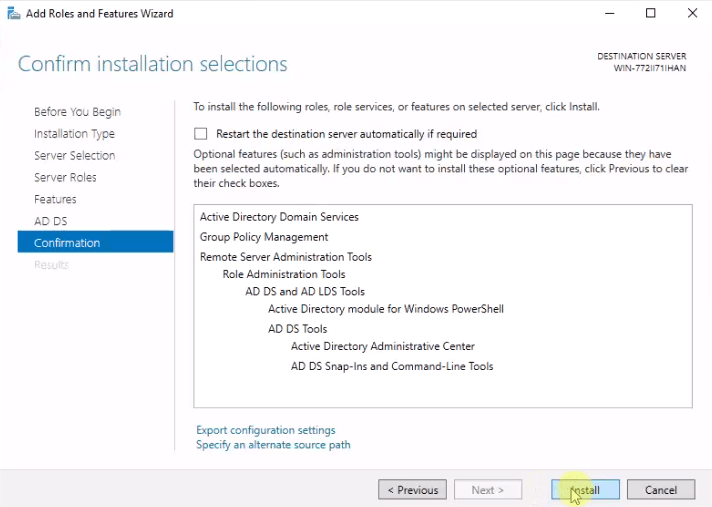
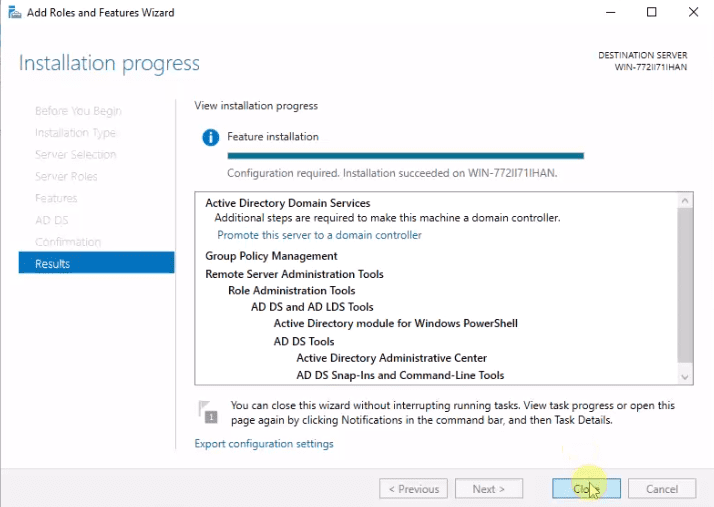
- Wait for the installation to complete and then click "Close."
Step 6: Promote the Server to a Domain Controller
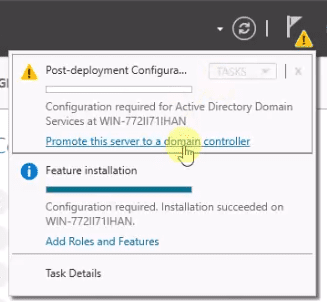
- In the Server Manager Dashboard, you will see a notification with a yellow exclamation mark. Click on it.
- In the notifications drop-down, click "Promote this server to a domain controller."
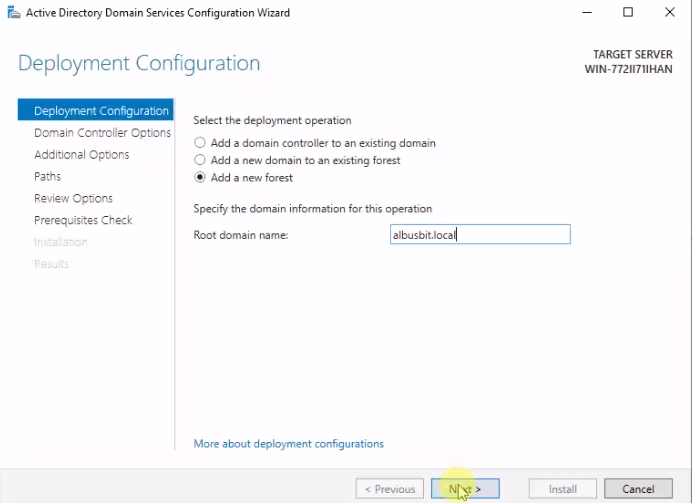
- In the "Active Directory Domain Services Configuration Wizard," choose "Add a new forest" and enter a root domain name (e.g., albusbit.local). Click "Next."
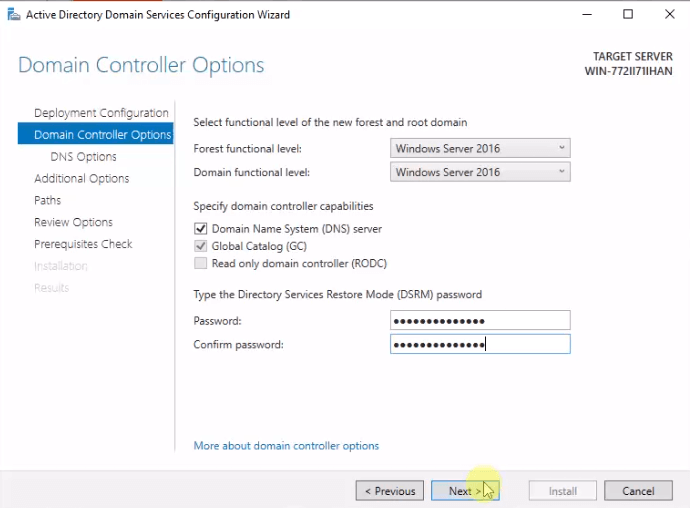
- Here we leave everything by default and only enter a Directory Services Restore Mode (DSRM) password and click "Next."
- If a warning about DNS delegation appears, you can safely ignore it and click "Next."

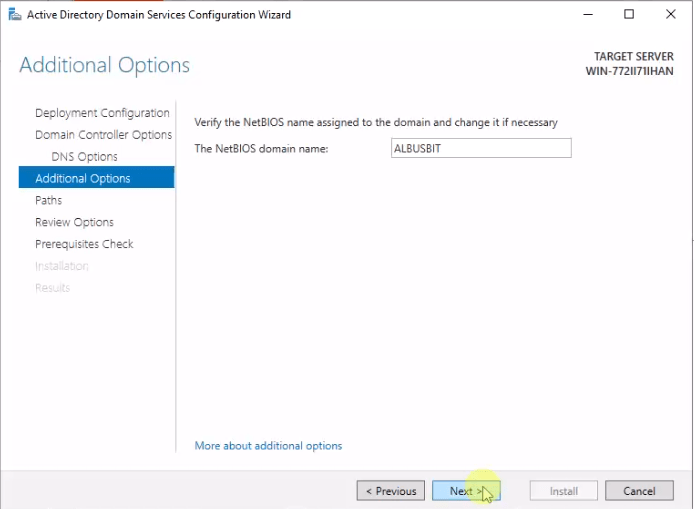
- Set NetBIOS name. Click "Next."
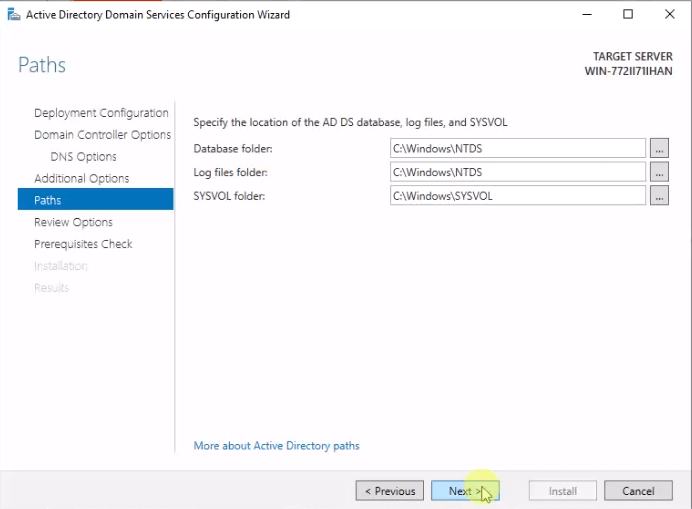
- Confirm or change the default paths for the AD DS database, log files, and SYSVOL. Click "Next."
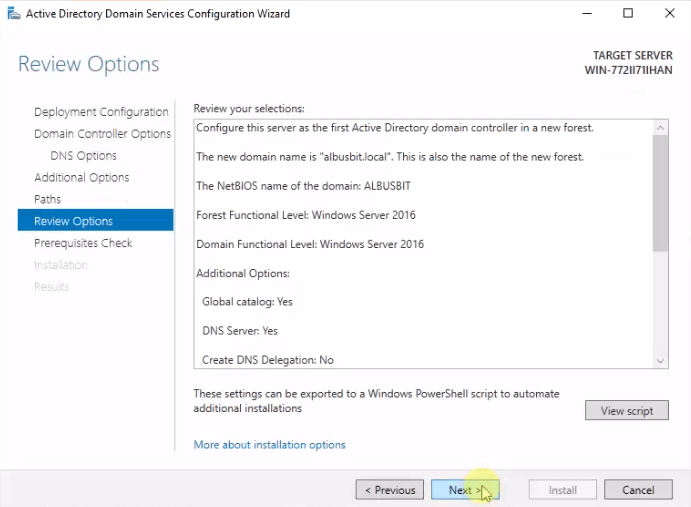
- Review your selections, and click "Next."
- The wizard will perform prerequisite checks. If no critical issues are found, click "Install" to begin the promotion process.
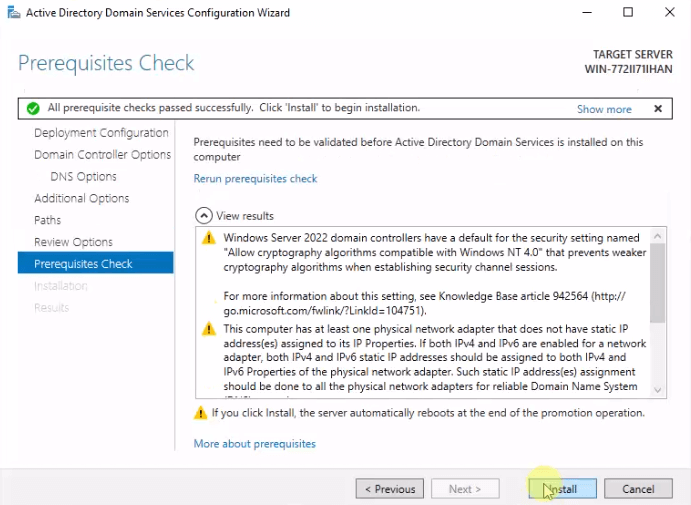
- The server will restart automatically after the promotion process is completed.
Step 7: Verify Active Directory Installation
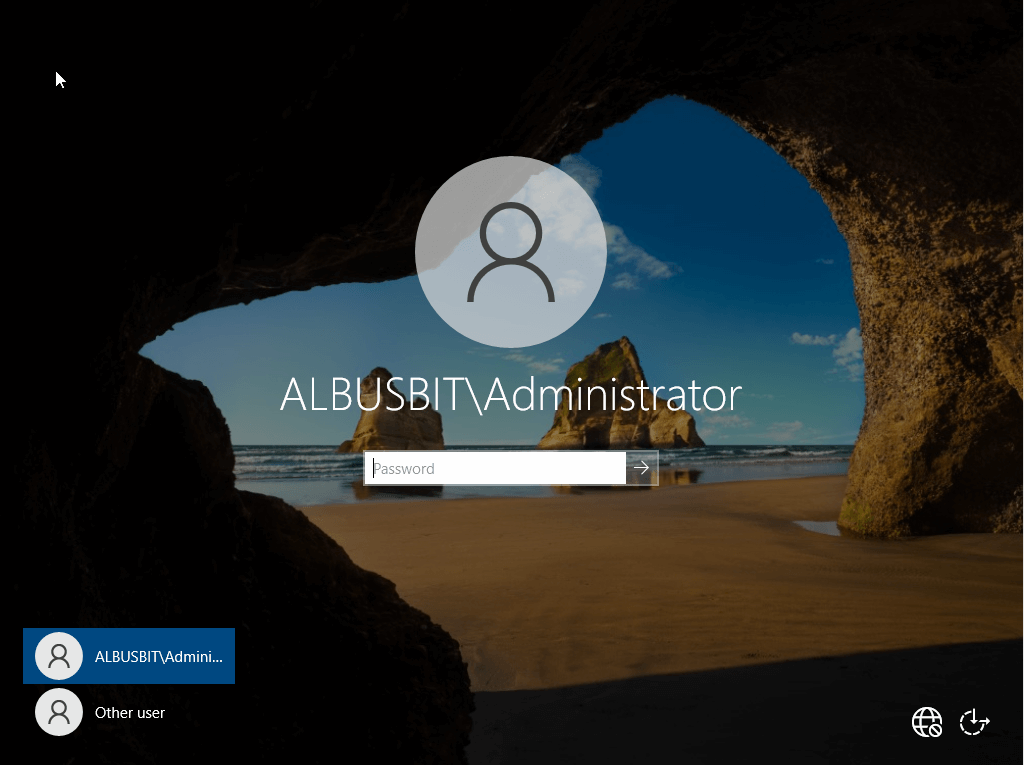
- Log in to your Windows Server 2022 virtual machine using the domain administrator account (e.g., ALBUSBIT\Administrator, where ALBUSBIT is your domain name).
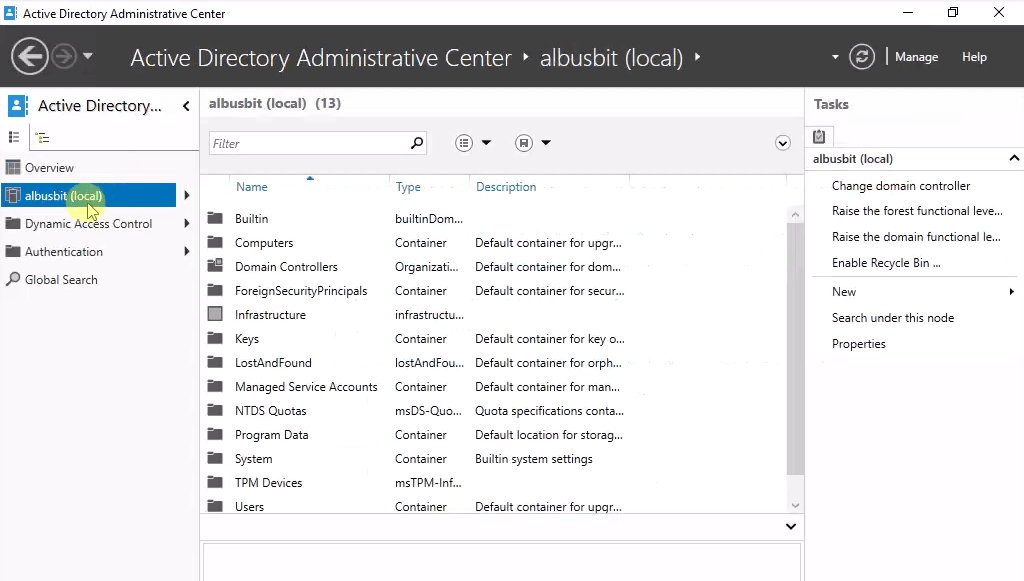
- Open "Active Directory administrative Center" by searching for it in the Start menu.

- Verify that your domain is listed and explore the default organizational units (OUs) and objects.
Step 8: Generate test users, groups, computers
- Download AD Test Data Generator by AlbusBit. It's a free tool that will help you quickly inject test data into your domain so you can then run the tests you need or just learn.
- Install it using the standard installer.
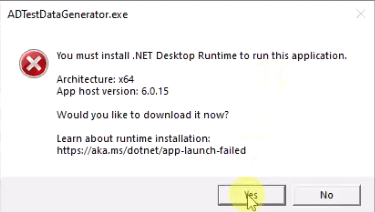
- It uses the .NET 6 framework, so you will need to download the .NET Desktop Runtime. Launch it. If you get this error, then install .NET 6.0 Desktop Runtime.
- At the very beginning, you can check if the tool can connect to your domain by pressing "Test connection". If you followed this tutorial then it should be successful "OK". If you have a different environment, you can also specify another AD user who has the right to create new objects in your domain.
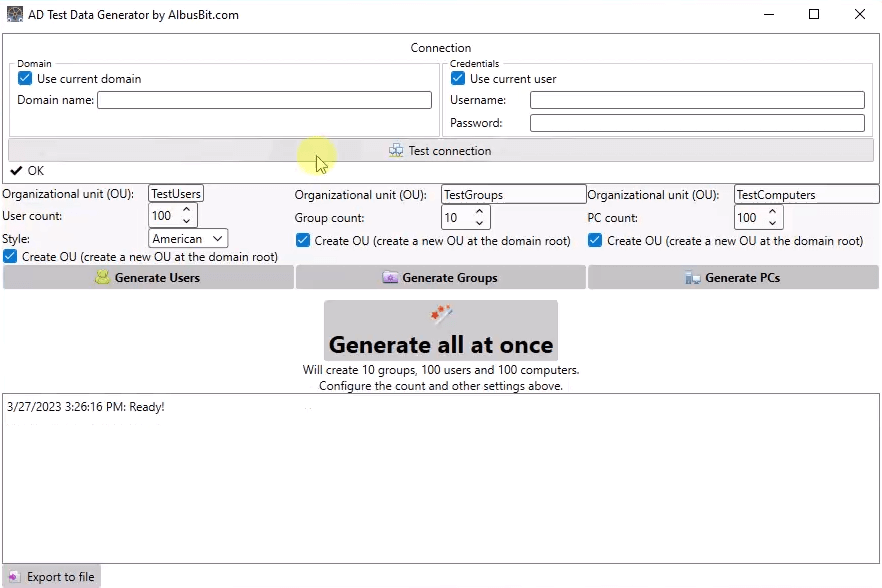
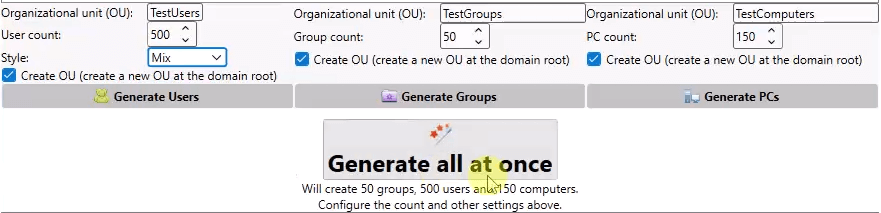
- Currently, AD Test Data Generator can generate user and computer accounts and groups. Here you can specify in which OU to write each of these objects and whether to create a new OU with the specified name. This time we leave everything at default, just set the number of objects - 500 users, 50 groups and 150 computers.
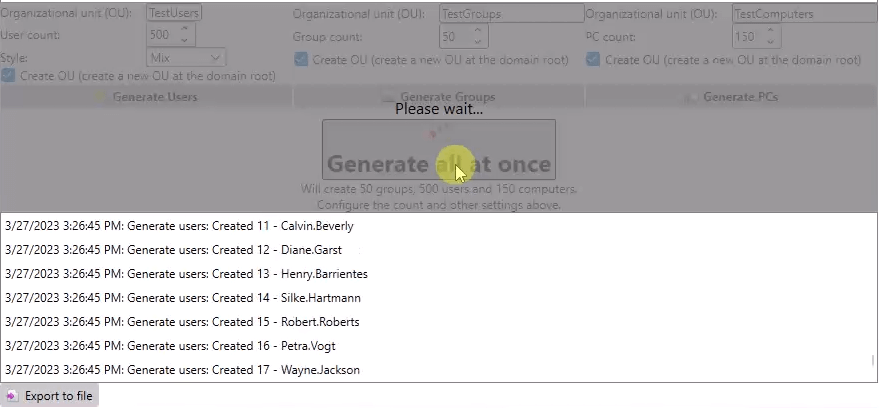
- Press "Generate all at once" and wait until the process is completed.
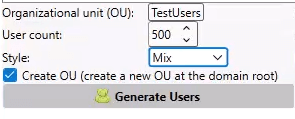
- You can also generate each group of objects separately. You can set OU, count, and style for user objects, as well as for the other categories.
[Bonus] Get reports of all users, groups, computers from Active Directory
- Download AD FastReporter Free, install it and like AD Test Data Generator, this tool is built on the .NET 6 framework and requires the .NET Desktop Runtime
- At the first launch, choose Continue as Free version.
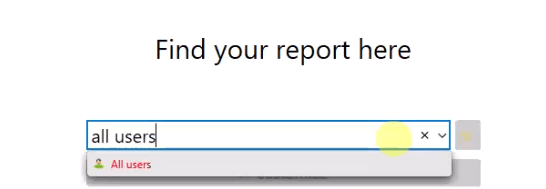
- You can easily find the report forms you need from the home screen. Let's try a simple report on all users in your domain. Type "all users" in the search box, select this report and press Customize.
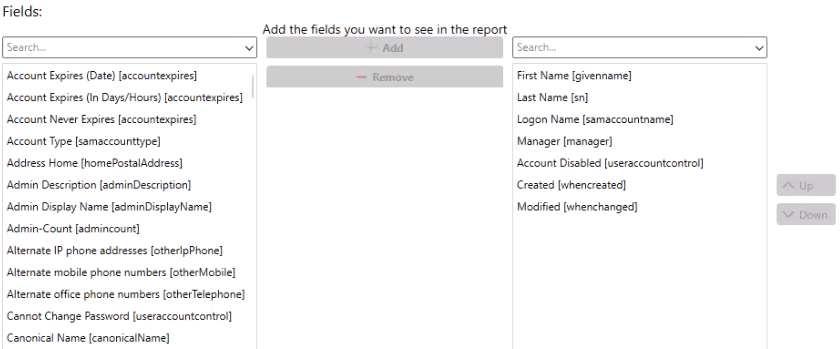
- Add the fields you want to see in your report. You can search by ldap name or field description. Once the fields are customized to your needs, then press "Generate".
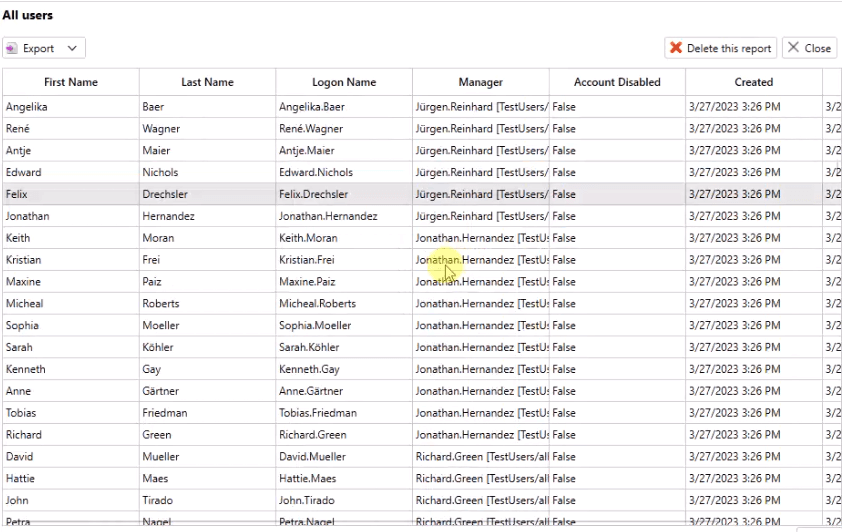
- When the report is ready, you will immediately see it on your screen. Here we can see all our test data. If you need to export this data, then you need to get the Pro version where you can export it to 7 different file formats.
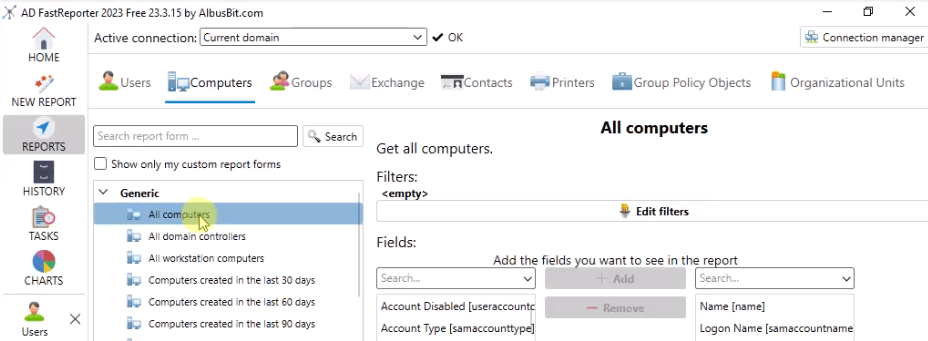
- To browse all built-in report forms, select "REPORTS" in the left taskbar. Here you will see all 8 categories of reports with a total of more than 250 built-in reports.
- If you want to create custom report forms, schedule the generation of reports and receive results in your email, then take a look at all the advantages of the Pro version.
Conclusions
Congratulations on successfully setting up a Windows Server 2022 and Active Directory test environment using VirtualBox, as well as generating realistic test data using Albus Bit's AD Test Data Generator tool. By following this comprehensive guide, you now have a risk-free environment to explore the features of Active Directory and enhance your skills as an IT professional or system administrator.
Testing and generating reports in Active Directory is essential for ensuring the smooth operation and security of your IT infrastructure. With the help of AD FastReporter Free, you can quickly and easily generate insightful reports on users, groups, and computers, allowing you to monitor and manage your domain effectively. Regular testing and reporting help identify potential issues, optimize performance, and maintain the overall health of your organization's IT infrastructure.
In summary, setting up a test environment and utilizing powerful tools like AD Test Data Generator and AD FastReporter Free enables you to gain hands-on experience and confidence in managing Active Directory, ultimately preparing you for real-world scenarios and challenges. Happy testing and reporting!