Online Manual
Getting Started with AD Photo Editor
Interface Overview
When you launch AD Photo Editor, you'll see the main interface divided into several sections:
- Navigation Sidebar - Contains buttons for switching between main modes (SEARCH, IMPORT, EXPORT)
- Header Bar - Shows connection information and access to settings
- Content Area - Displays the active function (search, import, or export)
- Status Messages - Banner areas at the top for special deal offers, license notifications, and updates
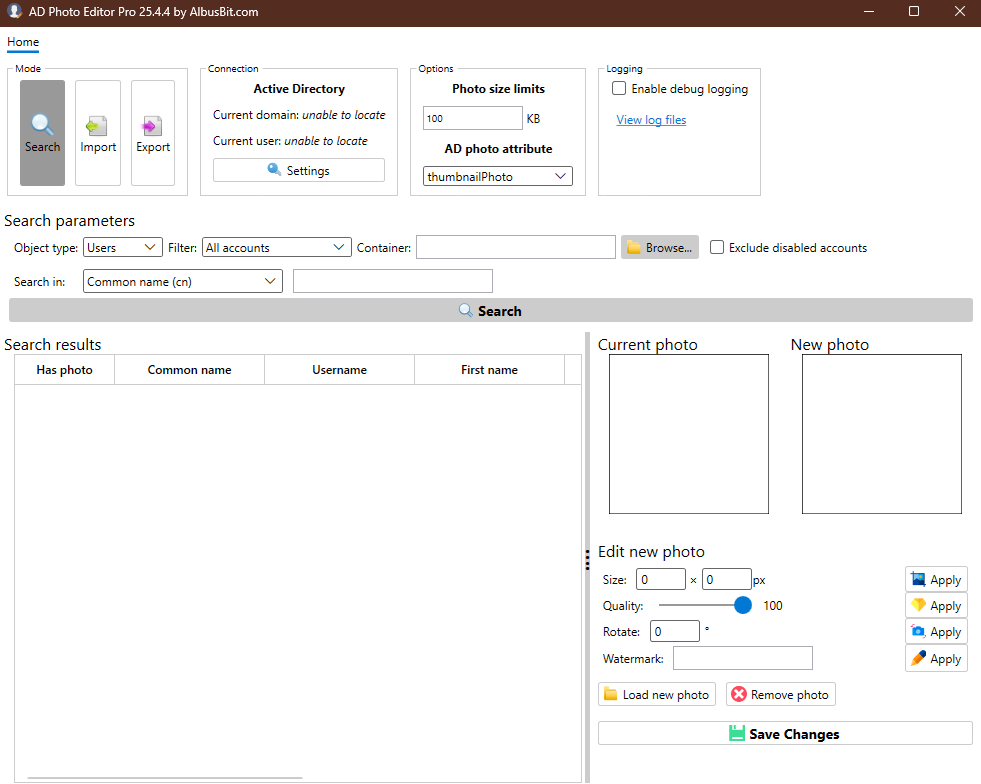
Mode Selection
AD Photo Editor operates in three main modes:
- SEARCH - Find and manage photos for individual AD accounts
- IMPORT - Batch import photos to multiple AD accounts (Pro Edition only)
- EXPORT - Extract photos from AD accounts to your local filesystem (Pro Edition only)
Switch between modes by clicking the corresponding buttons in the left sidebar.
Connection Settings
Before you start working with AD Photo Editor, you may need to configure your connection to Active Directory:
- Click the "Connection manager" button in the header bar
- In the Connection Settings dialog, configure your domain and credentials:
- Domain - Choose between current domain or specify a custom domain
- User - Choose between current user credentials or specify alternative credentials
- Save credentials - Option to save alternative credentials in Windows Credential Manager
- Click "OK" to save your settings
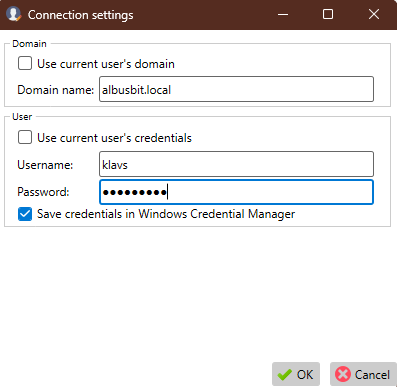
The active connection is displayed in the header bar, showing the current domain and user.
Settings Tab
Access additional settings by clicking the SETTINGS button in the sidebar:
- General - Configure photo size limits and photo attribute selection. Manage custom search attributes.
- Debug - Enable logging for troubleshooting.
- License - Manage your product license and check support status.
These settings will be saved and used for future sessions.
Free vs Pro Edition
AD Photo Editor is available in two editions:
- Free Edition - Basic functionality for searching and editing individual photos
- Pro Edition - Full functionality including batch import/export, custom attributes, and priority support
You can upgrade to the Pro Edition at any time from the License section in the Settings tab.